Arabian
Nights

All images are property of Serialgame
Written
and illustrated by Dr. Hugh
Website conversion and layout by Bert Jamin


Click
on one of these images to go to that Episode
| Episode 1

Melissa's Letter
|
Episode 2

The Sacred Tombs
|
Episode 3

Mysteries at the Palace
|
Episode 4

The City of Akhaba
|
Episode 5

The Black Moon Sect
|
Episode 6

The Magic Cave
|
Episode 7

The Great Fortress
|
Or
click on the image at the bottom of this page to go to the next Episode
Episode
2, The Sacred Tombs
PART
1
BURIAL
PLACES
The
Crypt
After
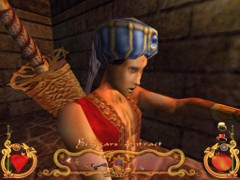
a cinematic intro where Princess Melissa is taken prisoner Ali jumps down into a
subterranean Crypt maze...You should have collected some 15 Knives by now and a
sufficient amount of Phials of Life and Magic.
The
Crypt is infested with a poisonous species of Priests that are easily defeated
all right. But if you don’t notice them fast enough in their dark surroundings
they’ll spit deadly venom into your face! This will cause Ali to start
coughing and dazzling while he is slowly dying a horrible death. And the only
cure is a dram of an Antidote which Phial your Inventory does not carry yet. Now
what kind of designer apparently programs such a cruel and vicious game?
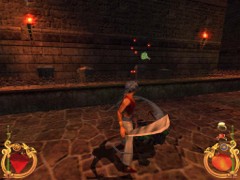
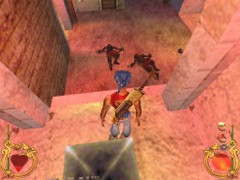
Beware
of giant Rats and do not fall down in the river of green acid.
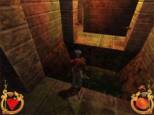
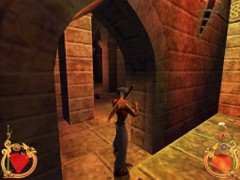
Don’t cross this slimy gap for now
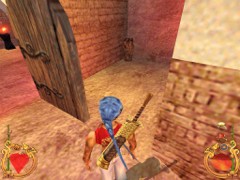
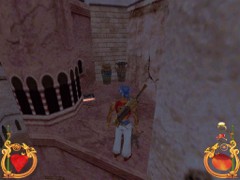
In
the first Room you’ll meet a Priest behind the corner. Quickly approach and
beat or chop off his head and limbs one by one. He may shed some Coins. Should
you got poisoned by now, promptly hurry to the secret entrance of the Gong Hall
in the second Room (see [*] further down) and proceed until you seize the vital
Phial of Antidote in there.
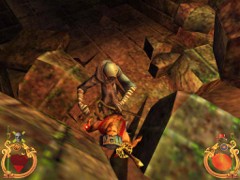
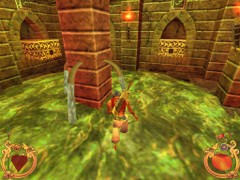
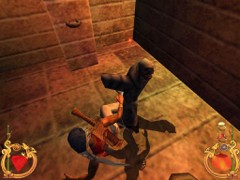
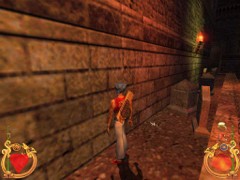
Ali may get poisoned by a Priest
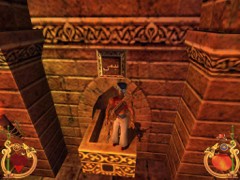
Go
left past the open door into a second Room with a Priest and a Rat both hiding
behind the corner to your right. Take care of the Priest first, and then hit the
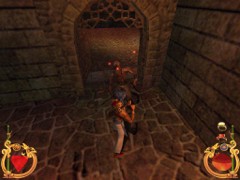
Rat. Notice two Tombs in the wall of which one is opened, and a tall moveable
block.
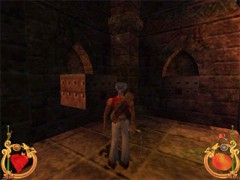
Tombs in the wall
[*
proceed from here in case you got poisoned]
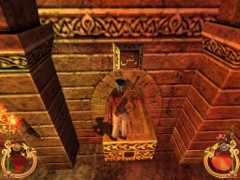
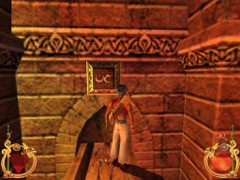
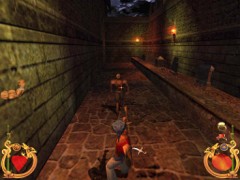
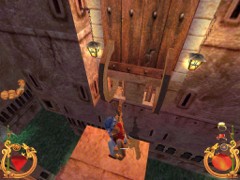
Push
the tall block aside. Inside the passage a door will slide into the floor.
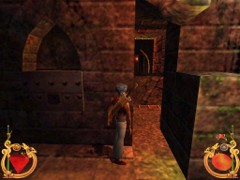
The secret entrance
The
Gong Hall
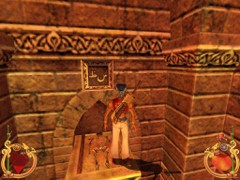
When
you enter the passage you’ll stumble upon the Architect’s Parchment. It
reads:
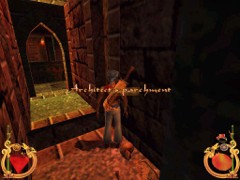
To
find the diamonds take care to note the four names on the pillars of the Royal
Tomb. You will find their correspondence in the funerary Chambers… Signed
Hadji, the Architect.
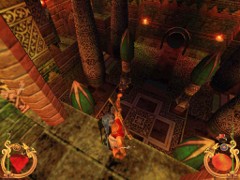
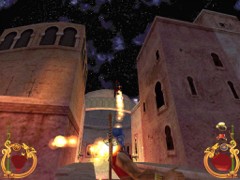
Ali
approaches the Gong Hall with a view from above: a huge Hall full of pillars and
a centrally suspended metal Gong. One slave is taking a nap and another one is
dusting a pillar… save here. Aim a Knife at the cleaner and try to put him to
sleep as well. Well, that won’t work… one
Knife seems insufficient so he’ll run and strike the Gong before you can
target again. That will alarm two more slaves entering from both doors. Quickly
load. Better prepare a Fireball for that traitor.
One Knife is not enough...

...but a Fireball is!
Jump
down and sneak near the sleeper. Make sure he’ll never wake up again. Take his
Phial of Antidote and drink it in case Ali is choking to death.
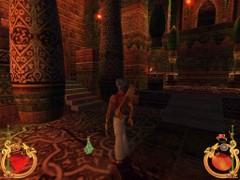
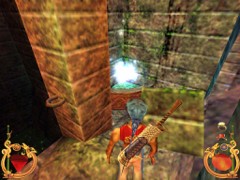
Your Phial of Antidote
Remember
that a Gong stroke will attract two slaves from behind the doors. Strike the
Gong and prepare for their attack. Fists and feet are fine as long as you keep
kicking first and don’t get pushed in a corner. If so, jump over them, run
away, turn around and continue. The Sword may work faster: you’ll have to get
used to different styles anyhow. When they’re joined with Allah one will leave
a Tomb Key behind. Take some time to examine all accessible places.
First
study the Altar with four pillars. Would that be the Royal Tomb mentioned by the
Architects’ Parchment? But where is the Tomb? Better take care to note the
four names on the pillars like it says. Copy the Arabic characters meticulously.
The
two doors that were opened by the alarmed slaves give access to the funerary
Chambers. It does not matter which door you’ll enter first.
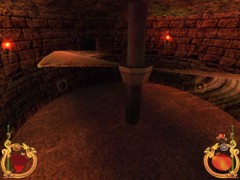
The
Moon Chamber
The
door to your left (when facing the Altar) leads to a circus with a central beam
and a giant fan with razor-sharp blades. Notice 6 Switches arranged over the
circular wall, each illustrating a position of the Moon. As soon as Ali jumps
down the vent starts
spinning and coming down, slicing him eventually into a hamburger! You
have a limited time to press the Switches in the right sequence: from new to
full Moon.
Jump
down and press the Switch to your right, the new Moon position. The correct
sequence of the following Switches is:
-
3 left
-
1 left
-
2 right (half Moon)
-
1 right
-
2 right (full Moon)
The fan withdraws
Jump
and pull up to the newly opened entrance to the funerary Chamber. There are 6
Tombs stuck in the walls and each can be unlocked with your Key and pulled out.
Look up at the names above each Tomb and compare with the four names you wrote
down. Pull out two corresponding Tombs to retrieve the diamonds of the Parchment
(stand in front of a Tomb and press action). It is considered wise to
save first though because a wrong choice of Tomb may result in…well, find out
for yourself.
The blue diamond
The green diamond
??? ...Cobras... wrong choice!
The
exit is now blocked. To unlock, slide the Tombs back inward and leave for the
Gong Hall.
The
Carrousel Chamber
The
second door leads to the Carrousel of arrows. This is a challenge in aerobics
for Ali. As soon as
you jump in it will start reversing sense of rotation completely unpredictable
while arrows are being launched at you from several openings in the wall. You’ll
have to make it safely to the opposite exit. Run
till under the opening as fast as you can. Best things to avoid the arrows are
side jumps. Not easy with the ever changing sense of rotation. Jump
and pull up and enter a second funerary Chamber with 6 Tombs. Notice that little
difference? There are four water taps on the central beam. Or…would that be
taps for some other kind of liquid? Well, pull out a wrong Tomb and you’ll
find out! So better save here and select the correct two Tombs.
The yellow diamond
The red diamond
It’s like the acid from the river...
Slide
in the Tombs to unblock the exit and ride the Carrousel once again into the Gong
Hall.
The
yellow Ring
Place
each diamond inside a pillar of the Royal Tomb (stand in front of one and press action).
Watch
an amazing cut scene of how the pillars light up and sink in the floor while the
Royal Tomb rises with a yellow Ring on top!
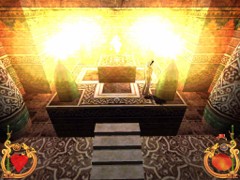
Revelation
of the yellow Ring
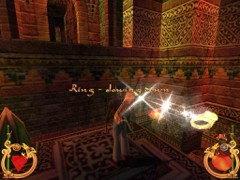
Climb
the Tomb and the Ring –slowing down is yours! This Ring will allow Ali to
considerably slow down his enemies and will get more powerful when new Jewels
shall be added.
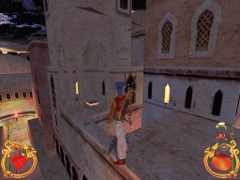
From
the Tomb run and jump to the opposite ledge, pull up and return to the Crypt.
Back
to the Crypt
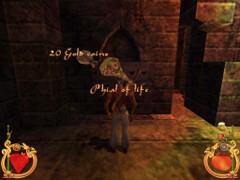
Face
the two Tombs in the wall. Push in the Tomb that is sticking out and pull
out the other one, otherwise it won’t come out. You’ll find 20 Gold Coins
and a Phial of Life in there.
Return
to the first Room and jump over the acid river. From the entrance to the next
Room you will notice a Rat. Be careful: right behind the corner there’s a
Priest in ambush. When you beat him up, you’ll get some Coins. With the Sword
you’ll get nothing. Apparently that seems to apply to some of the Priests in
this Crypt.
Beat
the Gold out of him
Once
again, should you get poisoned in this section and you have spend your only
Phial of Antidote last time, hurry to the 4th Room (see [*] further)
and proceed from here to another level where a new Phial of Antidote will be
available.
Kill
3 Rats in a row. There is a Tomb in the corner stuck in the wall. You may unlock
it with your Key but there’s nothing to grab.
Turn
left to the 4th room. Kill the Priest and the Rat.
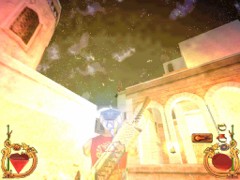
Turn
left and jump over the acid river. Drink from the magic Fountain and watch a cut
scene of a dancing Princess. Listen to the story, there’s something wrong with
the Grand Vizier.
Another magic Fountain
Cross
the river again to the 4th Room.
[*
proceed from here in case you got poisoned]
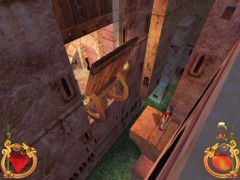
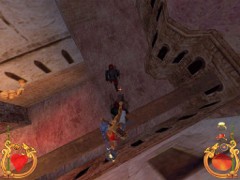
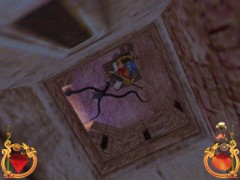
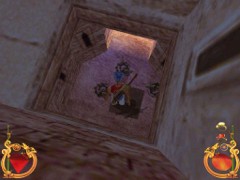
See
that chain hanging from the ceiling? Unlock the Tomb and make it a ledge from
which you can jump to the chain. Climb out of the Crypt...
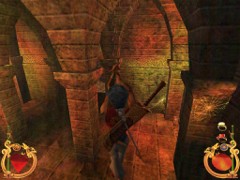
Climbing the chain
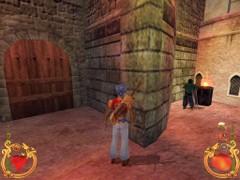
The
U-shaped Graveyard
After
a loading of the game you’ll get a view from above.
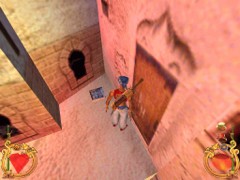
Jump
off to the ledge on the second floor and don’t climb further to the third:
there’s nothing up there.
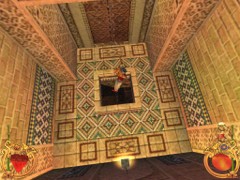
Jump off here
Enter
the brown door. In a cinematic three Archers get instructions from an imposing
Colossus of how to catch Ali.
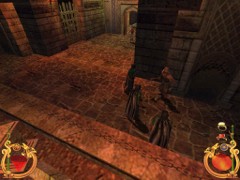
Ali is sneaking in
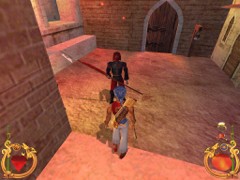
Standing
in the Alley, don’t move and watch two Archers passing by.
One is hesitating and examines the Graveyard turning his back towards
Ali. Sneak behind him (press crouch
twice quickly). Chop off his head with a single stroke and grab his Phial
of Antidote and Gold Coins. Jump
back into the alley and without delay swallow the Antidote if necessary.
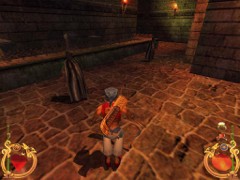
Sneak and strike
The
two other Archers are alarmed now. You can kill these guys with a single hit but
they move so fast. Watch their arrows. Stay in the alley and wait for the second
one to arrive from behind the right corner and surprise him here. This one
carries a Phial of Life and more Gold Coins. Chase the last one and silence him.
Go
looking for more goodies in this area. First open one of the side doors in this
Alley. There are 3 King’s Cobras in a small garden. Wait for the first one to
crawl out and treat it on three foot kicks, that prove more efficient than some
Sword strokes.
Turn
right behind the door. The second Cobra arrives from that corner, finished it
off, turn around and let the third one approach. When the Garden is Snake-free
take the Knife in the central bush and go smash 3 Jars in the opposite corner
alcove: one contains 3 Bombs.
Leave
the garden and clear the U-shaped Graveyard from Knives and Gold Coins.
Getting more goodies
The
second door at the end of the Graveyard’s right side is locked and you’ll
need to capture a Key for that.
Follow
the left side and open the door in the corner.
The
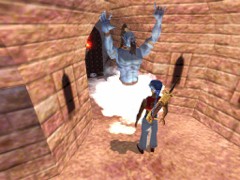
Colossus
Princess
Melissa is crying in her cell and now is the time to set her free at last!
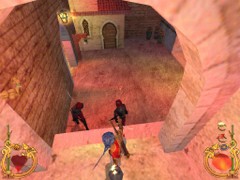
Meet
your first Boss now…the Colossus. There are a few ways to defeat this powerful
brute.
Jump
back and immediately prepare the Magic for the yellow Ring. Aim a white Fireball
at the Colossus when he appears and slow him down. Now you have a limited time
to beating him up as hard as you can; use either the Sword or fists and feet.
You won’t stand a chance against him when he gets fully conscious again:
sprint away in the alley and repeat these tactics until he’s caged for good.
Or run and finish him off with some Knives.

Different
tactics
If
you have at least 10 Knives in your pocket there is a much easier way to butcher
this guy:
Lure
him past the door and let him follow you. Turn around and keep on throwing Knife
after Knife until he’s gone. You’ll need 5-7 Knives for that.
A
Key, a Beggar’s Contract and Gold coins are your award.
50,000
dinars for the death of Ali, 20,000 dinars for the capture of Melissa. Careful:
do not contact me at the Palace. I will send you my faithful Abdul. Signed...
Obviously
this contract has been written by the vicious Grand Vizier!
Enter
again and release the Princess. Follow a cut scene. She tells Ali that she was
created by the Good Genie and that a Kiss before her marriage should send her
back to the Palace.
Go
all the way to the other side of the Graveyard and open the 2nd door
with your Key.
PART
2
NIGHT
TIME IN THE CITY
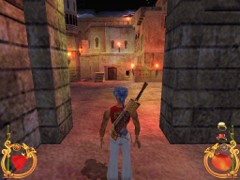
After
a new loading of the game, Ali is finding his way to the heart of the City.
City
Gates
Watch
out when entering this place. Be prepared for a fight with an Archer and
Hunchback in ambush behind the corner to your left. Lure the Hunchback out and
jump back, out of reach of the Archer’s arrows. Once you’re done with the
Beggar go after the Archer. Take his Coins.
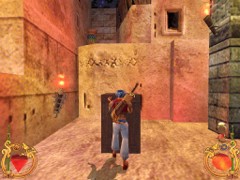
The Archer will stay behind the corner
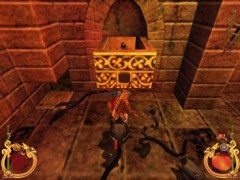
Explore
the place now. There is a Jar on top of a wall which you can reach by pushing a
chest against the wall and jumping up from there.
Pushing the chest under the Jar
The
Jar contains 4 Knives! Go down the
stairs in a corner and smash a Jar with a Phial of Life.
Enter
the nearby door and ascend the stairs. Examine the opposite trap bridge and spot
two ropes. Aim two Knives and cut each one.
Cutting two ropes
The
bridge will lower now. Open the next door. Ali is standing on a staircase
leading down to a guarding Post. There is a low pink wall to your right and a
Jar stands higher up in the left corner. Climb the walls and smash the Jar for
…clean air. However, from here you have a good view. Notice a Guard in front
of the gate next to a Bell. Don’t spend any Knives on him from here but rather
come down and face him with the Sword. When you’ll approach he will tell you
that the Gate to the City is closed for thieves like Ali. These lance Guards are
very tough and hard to defeat. Repel his strokes and time your own well. Take
some goodies he’ll leave behind.
Facing the Lancer
When
he’s sent to eternity smash the three Jars in the corner and grab a Phial of
Life.
See
that alcove on the other side? Smash another Jar in there for a Phial of Magic
and go ring the bell (give it a kick). Return to the alcove and hide in the
corner where the Jar stood. Wait
for a Guard to descend the stairs; he won’t notice Ali in there and will call
for another Guard who will open the Gate from inside.
(Note:
if you failed hiding well enough the Guard will notice Ali and won’t call for
assistance. In that case you’ll have to defeat him, ring the bell again and
hide till a next Guard will arrive from the stairs).
Show
yourself from in the alcove and these two Guards will approach but won’t climb
up. Fling a Bomb and blow them into pieces.
A Bomb for the Guards...
Grab
whatever you can, like Bread, Knives and Gold Coins and hurry up to the stairs
again.
An
Archer was alarmed and has appeared on top of the wall above the gate. Avoid his
arrows when jumping on the pink wall and hit him with a Knife.
...and a Knife for the Archer
Come
down and enter the City. The Gates are open wide...
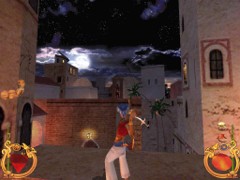
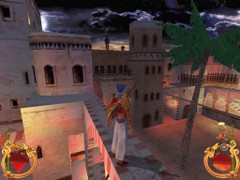
City
by Night
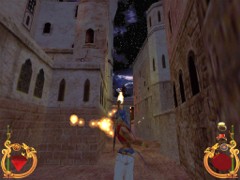
When
you enter the Gate immediately jump aside when an Archer fires from a low roof
at the far corner of the alley.
Jump
back and aim a red Fireball to blow him apart.
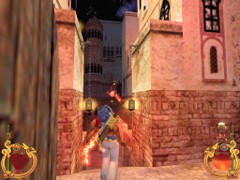
A City infested with Archers
Turn
right and climb the watch-tower. On top you’ll get a Phial of Life. Take some
time and enjoy the view. From here you’ll notice a hidden Jar behind the gate
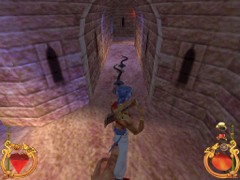
you have just entered. Go down and break it (turn toward the ladder and press action).
The first Puzzle piece
This
Jar contains your first of 5 Puzzle pieces you’ll have to uncover in this
section of the City.
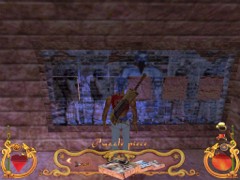
Halfway
down the ramp in the alley climb the beam to your right and walk all along the
beam to the corner where just blew away the Archer. Jump on the ledge where
you’ll find Puzzle piece #2 and two Jars. Break them for a Phial of Magic.
Your second Puzzle piece
Jump
back to the beam and watch 3 Guards below coming your way from the other alley.
Are they begging for a Bomb?
One Bomb for 3 Guards
Jump
down and catch 2 Knives and some Gold Coins. In this alley there’s an Archer
on top of a bridge. Blow him off with a red Fireball.
An Archer on the bridge
Walk
to the bridge and turn left to smash a Jar at the dead end. There’s a Bomb in
there.
Go
back to the other side of the bridge and climb the ledge. From here jump to the
lower roof to your left and further up till under the Arcade. There is an Archer
shooting from a roof above but you can’t spot him. Break a Jar to your right
for a Phial of Magic and turn around. Opposite you’ll see a red and white
awning and Puzzle piece #3 on a higher roof under some palm trees. Notice
another Jar at the end on the bridge.
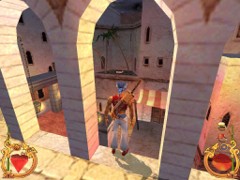
The awning and Puzzle piece #3
Run
and jump to the Awning and immediately turn around and aim a red Fireball at the
Archer on top of the opposite building.
One more to go
Jump
to the roof with the palm trees and catch your 3rd Puzzle piece.
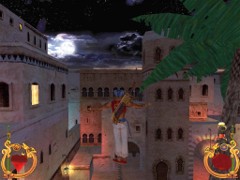
Come
down and return to the ledge under the bridge. Climb up to the bridge and smash
that Jar you saw from under the Arcade. This one hides an Apple. From
the other end of the bridge jump back to the small roof and return to the
Arcade.
Jump
to the higher bridge on the other side, and look left. There is an Archer posted
on a roof but he won’t notice Ali. Kill him from here. One Knife will do a
fine job
.
This Archer does not notice Ali
Now
it’s time for some rope walking! Ali is experienced now. Cross the first rope
and look to the opposite roof where the next Archer is shooting from. A Fireball
in his direction is your right option.
36 Look between the leaves
Walk
the longer rope to the opposite balcony and smash the Jar. You’ll obtain
Jewel-blinding, the second Jewel for the yellow Ring whose Magic will blind your
enemy.
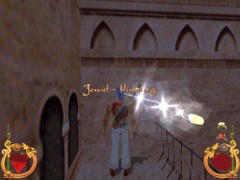
Climb the long rope to the Jewel
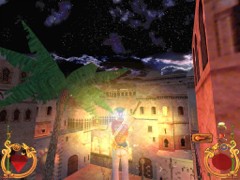
Turn
left of the balcony and jump down to the magic Fountain. You won’t get hurt.
Drink from the Fountain and watch Princess Spiruline performing a nice belly
dance for entertainment!
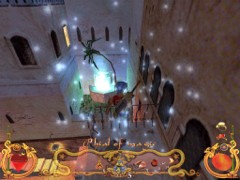

Jump to the Fountain and enjoy the movie
Come
down to ground level and enter a small room to your left with two Jars inside.
Break them and find…more bubbles of air. Turn around and look up to the
opposite roof where another king of arrows has appeared.
They keep appearing
Run
toward the opposite ramp and turn right. Immediately jump aside to avoid an
arrow of the Archer at the end of this alley. Aim and blast a Fireball.
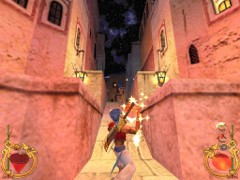
Shoot this Archer...
Run
up the second ramp, turn around and quickly shoot the one on top of the dome.
...and this one too
Return
to the central place and ascend the arcade in the opposite corner. Follow the
stairs up to the ledge and smash the Jar for a Bread. Walk over the top of the
arcade to the other side and climb the roof. Jump down to the lower roof where
you’ll catch your 4th Puzzle piece.
The 4th Puzzle piece
Jump
down and follow the two ramps again till the end of the allay where you can
break a Jar containing a Knife. Run up the adjacent stairs and turn around
facing the opposite roof. Up on the roof you can spot Puzzle piece #5. Jump to
the roof and include your final piece.
The 5th Puzzle piece
The
Puzzle of five Pieces
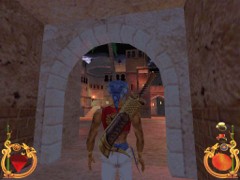
Stand
on the corner of this roof and jump to the opposite roof. Climb up and descend
the narrow staircases on the other side. Down the third staircase a one-eyed
Hunchback Beggar is molesting Ali. Some Kicks will definitely end this kind of
bad behavior.
A lesson in good manners
Grab
a few Coins and smash a Jar in the corner hiding a Phial of Life. See how
nervous Ali is getting here? That is because of the nearby Cobra pit.
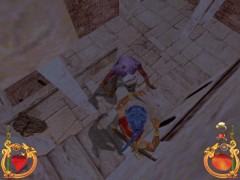
Carefully
walk to the edge of the snake pit and look down. There is a crate below. Save
here because this is going to be a one way trip only!
Jump down on top of the crate and make sure you don’t miss it.
Immediately 3 King Cobras will curl below Ali’s feet! Aim a Bomb and shatter
their skins all over the pit.
Before... and after the Bomb
Jump
down and walk past the corner where you’ll meet two more of these Serpents.
Kick them both to kingdom come!
Two more of these fellows
Look
at the wall fresco with five missing squares. Those are the Puzzle pieces you
collected!
Place
each piece in the corresponding hole and respect the correct sequence from left
to right:
1,
2, 4, 5, 3.
Finishing the Puzzle
And
the Good Genie appears:
Thank
you for freeing me my Prince! We shall meet again!
Is that
all?!?! No three wishes? No money? No gold? No nothing at all!?!?! What kind of
Genie is this???
Follow
Ali into... Episode
3.
Click on the image below to go to Episode
3, Mysteries at the Palace